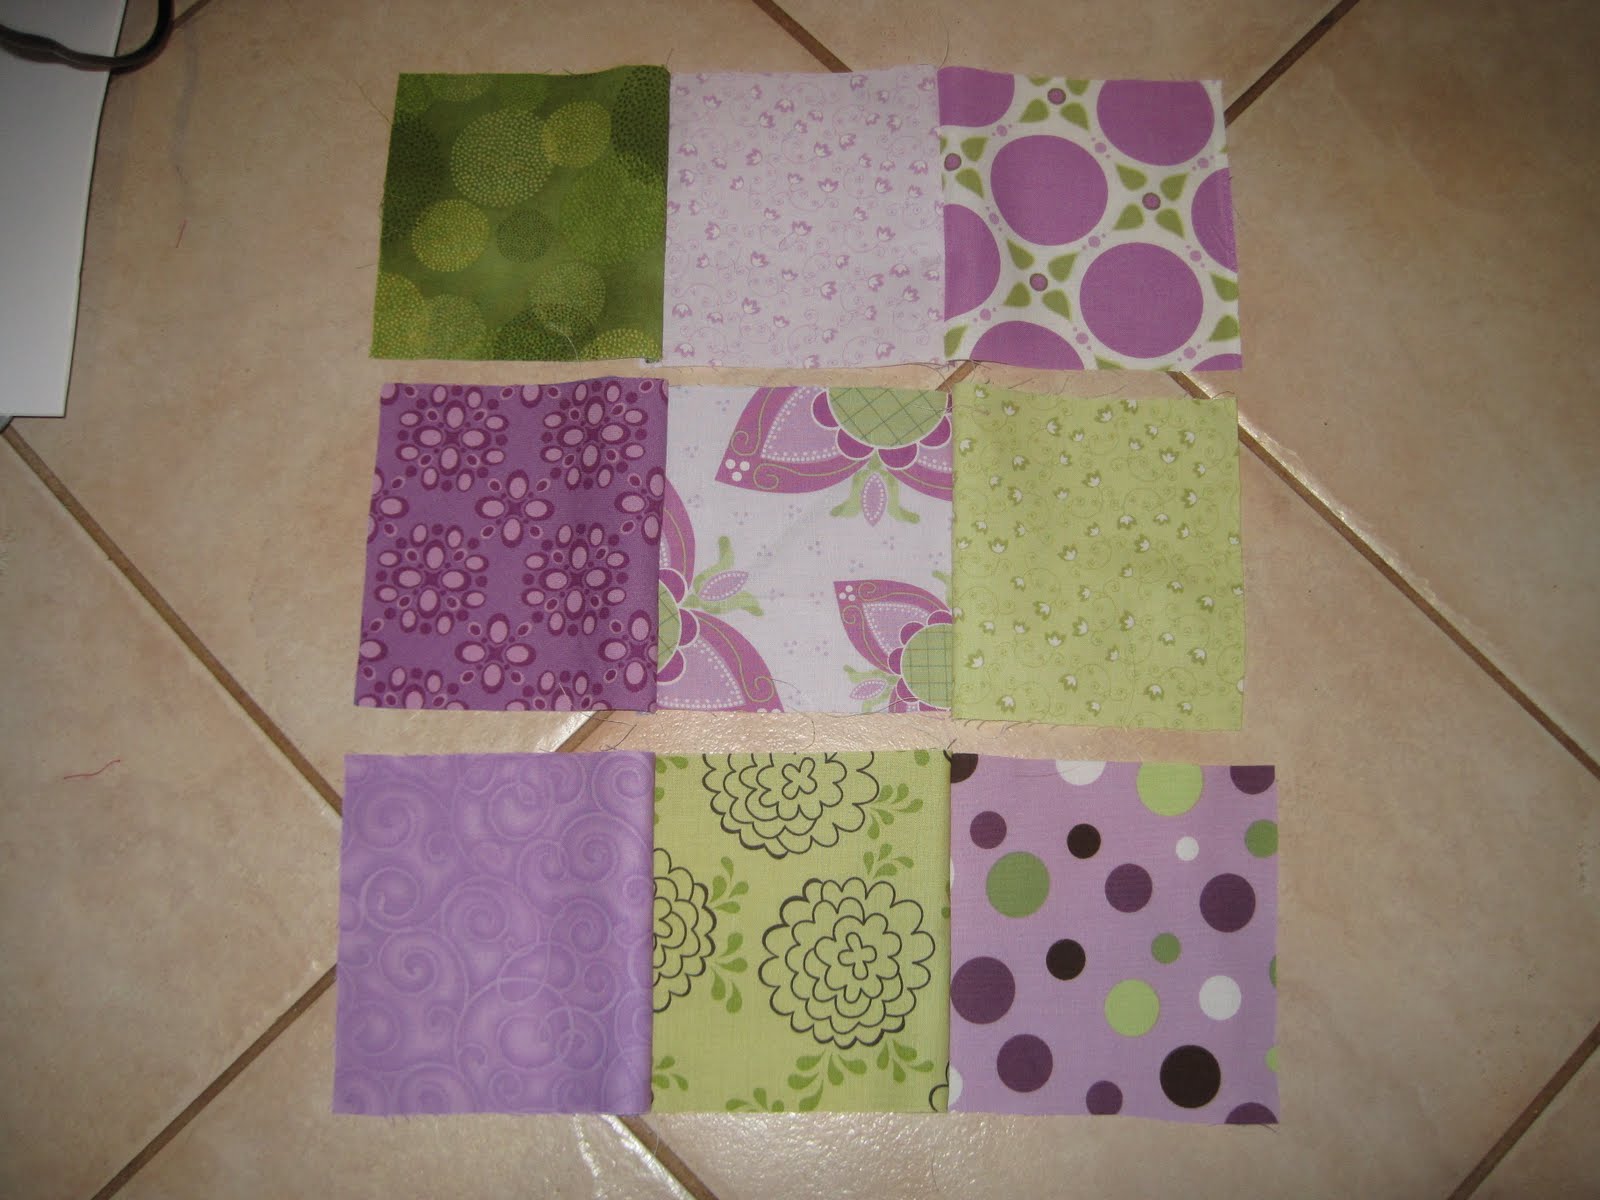
In between all other projects this one is still going. The rag quilt for my little girl. This week I finally put together all the squares & rows. Looking great, don't you think?

Normally you stitch and cut around the outer border like you did with the edges of the squares but I decided I prefer a proper border/binding. So went online and ordered some more fabric from the same range. It was quite hard because the range is sold out almost everywhere or just little bits left. Luckely I did find a shop that still had enough left.

I am in LOVE with this fabric. It really brightens the day. Then I started doing some maths to work out how wide the stripes should be to make the desired border (Yes, I know I should have done that before I ordered but thank goodness I ordered enough!!). I cut all the strips and am busy sewing them around the quilt. (Photo's of this will follow!) All that's left when I finished the border is cutting/clipping all the seams in the quilt. This makes the seams soft and fluffy. This is a picture of the seams before clipping.

And this is how it looks after a few hundred cuts. Very cuddly!!

I'm very glad I bought the special rag quilt scissors from Fiskars which make clipping the seams soooooo much easier. Hope you like it!
 Normally you stitch and cut around the outer border like you did with the edges of the squares but I decided I prefer a proper border/binding. So went online and ordered some more fabric from the same range. It was quite hard because the range is sold out almost everywhere or just little bits left. Luckely I did find a shop that still had enough left.
 I am in LOVE with this fabric. It really brightens the day. Then I started doing some maths to work out how wide the stripes should be to make the desired border (Yes, I know I should have done that before I ordered but thank goodness I ordered enough!!). I cut all the strips and am busy sewing them around the quilt. (Photo's of this will follow!) All that's left when I finished the border is cutting/clipping all the seams in the quilt. This makes the seams soft and fluffy. This is a picture of the seams before clipping.
 And this is how it looks after a few hundred cuts. Very cuddly!!
  I'm very glad I bought the special rag quilt scissors from Fiskars which make clipping the seams soooooo much easier. Hope you like it!
 I loved making every bit from chosing the fabrics, sewing the squares together, the sashing (light purple around the 4x9 squares), the border (dark purple) and the binding (green edge).


 Jo & I made our first quilt blocks a few months ago when Quilts-for-Queensland was on. The idea was to make 12inch quilt blocks, send them to a lady who would collect them and with the help of very experienced quilters make them into quilts. Those quilts are being hand out to people who lost their belongings in the Queensland floodings. What's nicer to get, when you've lost lots or even everything, than something specially handmade for you. So after a few blocks each, we were bitten by the quilt-bug. :-) You can see the Quilt Along on here: